Navigate to:
Syncfic → Remote Site
This feature allows you to sync users between two WordPress websites automatically.
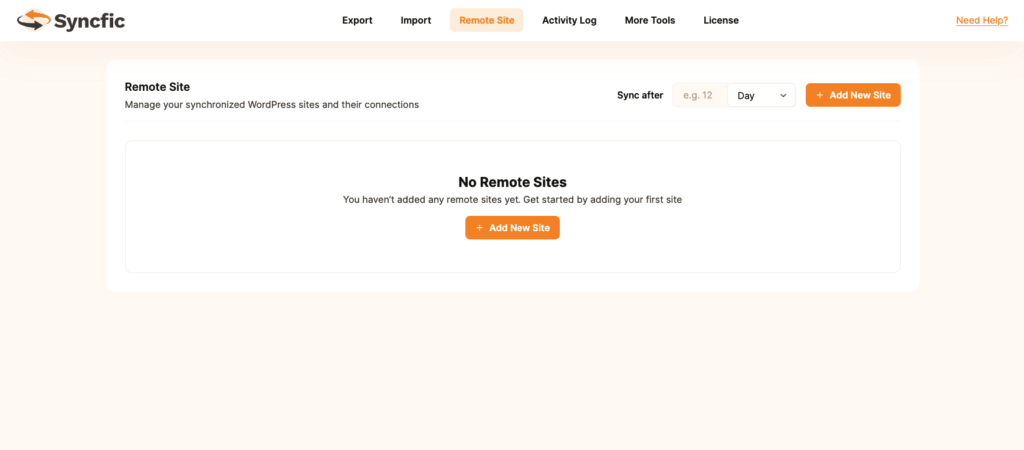
Adding a New Remote Site #
Click:
+ Add New Site
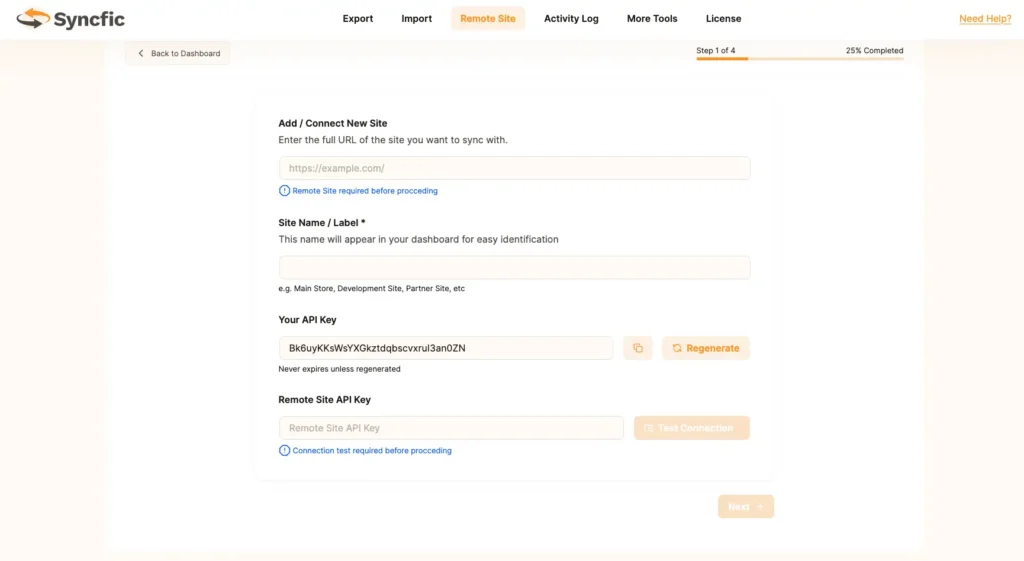
Connect New Site #
In this step, you establish the secure connection between the two websites.
Fields Overview #
1️⃣ Remote Site URL #
Enter the full URL of the website you want to connect.
Example:
https://example.com/
✔ Must include https://
✔ Must be publicly accessible
✔ Syncfic must be installed and activated on that site
2️⃣ Site Name / Label #
Enter an internal name for easy identification.
Examples:
- Main Store
- Development Site
- Partner Site
This name is only for internal reference.
3️⃣ Your API Key #
This key is automatically generated by Syncfic.
- ✔ Unique per site
- ✔ Never expires unless regenerated
- ✔ Can be regenerated anytime
⚠ Important:
If you regenerate the API key, the old key becomes invalid immediately.
4️⃣ Remote Site API Key #
On the remote WordPress site:
- Go to Syncfic → Remote Site
- Copy the generated API key
- Paste it into this field
Test Connection #
Click:
Test Connection
This step is mandatory before proceeding.
If successful, you will see:
✔ Connection Test Successful
✔ Status: Successful
After successful connection, click Next →
Choose Synchronization Type #
After successfully connecting the remote site, the next step is to select the type of data you want to synchronize.
You will see the available synchronization options displayed as selectable cards.
Users #
User accounts and profiles
This option allows you to synchronize:
- User accounts
- Profile information
- Roles
- Passwords (if enabled in rules)
- User metadata
✅ This feature is currently available.
Select Users to continue with synchronization setup.
Orders #
E-Commerce order data
This option will allow synchronization of:
- WooCommerce orders
- Order status updates
- Customer order data
🚧 Coming Soon
Posts #
Blog posts and content
This option will allow synchronization of:
- Blog posts
- Post content
- Categories and tags
- Post metadata
🚧 Coming Soon
After selecting the desired synchronization type, click:
Configure Sync Rules →
to proceed to the next step.
Configure Synchronization Rules #
In this step, you define the specific rules and triggers that determine when and how data should be synchronized between the two connected websites.
You can configure synchronization separately for:
- Incoming Actions (Remote → Current Site)
- Outgoing Actions (Current Site → Remote)
This gives you full control over data flow.
Incoming Actions #
Synchronize incoming user data from the remote site to the current site.
Enable the actions you want to allow:
- Create
Create new users on your site when they are created on the remote site. - Edit
Update existing users when their profile information changes on the remote site. - Delete
Remove users from your site if they are deleted on the remote site. - Password
Synchronize user password changes. - Roles
Synchronize user role changes (e.g., Subscriber → Customer). - Metadata
Synchronize custom user meta fields and additional profile data.
Outgoing Actions #
Synchronize user data from the current site to the remote site.
Enable the actions you want to send to the remote site:
- Create
Create new users on the remote site when created on your site. - Edit
Update user profile changes on the remote site. - Delete
Remove users from the remote site when deleted locally. - Password
Synchronize password updates. - Roles
Synchronize role updates. - Metadata
Synchronize custom user data and additional fields.
Recommended Setup #
For most websites, it is recommended to start with:
✔ Create
✔ Edit
✔ Roles
Enable Delete only if you are certain you want user removals mirrored across sites.
Enable Password and Metadata if full account synchronization is required.
After configuring your rules, click:
Set Sync Direction →
to proceed to the final step.
Set Sync Direction #
In this final step, choose how data should flow between your site and the connected remote website.
The sync direction determines which site acts as the source of truth during synchronization.
Push to Remote #
Send data to the other site. Your site acts as the source.
When this option is selected:
- Changes made on your site are sent to the remote site.
- Your site controls the data.
- The remote site receives updates.
Best for:
- Production → Staging
- Main Store → Branch Store
- Centralized user management
Pull from Remote #
Import data from the other site. Remote site acts as the source.
When this option is selected:
- Your site receives updates from the remote site.
- The remote site controls the data.
- Useful for importing or migrating users.
Best for:
- Migration projects
- Copying users from another system
- One-way imports
Bidirectional Sync #
Keep both sites updated. Changes on either site are synchronized to the other.
When this option is selected:
- Both sites send and receive updates.
- Any change made on either site is reflected on the other.
- Keeps both databases aligned automatically.
⚠ Important:
Bidirectional Sync should be used carefully to avoid conflicts or unintended overwrites.
Recommended only when:
- Both sites actively manage users.
- Clear sync rules have been configured.
After selecting the desired sync direction, click:
Start Synchronization
The system will begin syncing based on your configured rules and schedule.


